Is that once-pristine view from your security camera now looking foggy, scratched, or just plain blurry? It’s a frustrating feeling. You invested in that camera for peace of mind, and now it feels like you’re looking at the world through a dirty window. Before you rush to buy a whole new system, I’m here to tell you there might be a more affordable, hands-on solution. Learning How To Replace Home Camera Lens components can be a game-changer, saving you money and getting your security back to 100%. As a Senior Security Solutions Expert at Family Security 247, I’ve walked countless homeowners through this process, and today, it’s your turn.
First Things First: Should You Even Replace the Lens?
Let’s be real for a moment. Just because you can do something doesn’t always mean you should. A DIY lens replacement is a fantastic option in some cases, but in others, it’s just not worth the hassle.
When Replacing the Lens Makes Sense
- Minor Physical Damage: The camera took a hit from a stray baseball or a low-hanging branch, and only the lens is cracked or scratched. The rest of the camera works perfectly.
- Image Degradation: The view has become permanently foggy or cloudy due to moisture getting behind the outer glass or a breakdown of the lens coating over time.
- You Want an Upgrade: You’re looking for a different field of view. Maybe you want a wider angle to see your whole front yard or a narrower, zoomed-in view to focus on the garden gate. Swapping the lens is a great way to customize your coverage.
- You’re on a Budget: A replacement lens can cost anywhere from $10 to $50, which is a fraction of the price of a new, high-quality camera.
When It’s Better to Buy a New Camera
- It’s a Sealed Unit: Many modern, compact “smart home” cameras from brands like Ring, Nest, or Wyze are designed as sealed units. They aren’t meant to be opened, and trying to do so will likely break the housing and void any warranty.
- The Technology is Outdated: If your camera is over five years old, chances are its resolution, night vision, and smart features are far behind current standards. The money and effort spent on a new lens might be better invested in a full camera upgrade. You can check out our guide to the latest smart camera features to see what’s new.
- The Warranty is Still Active: If your camera is still under warranty and the lens issue is due to a defect (like internal fogging), don’t open it! Contact the manufacturer for a replacement first. Cracking it open yourself will immediately void that warranty.
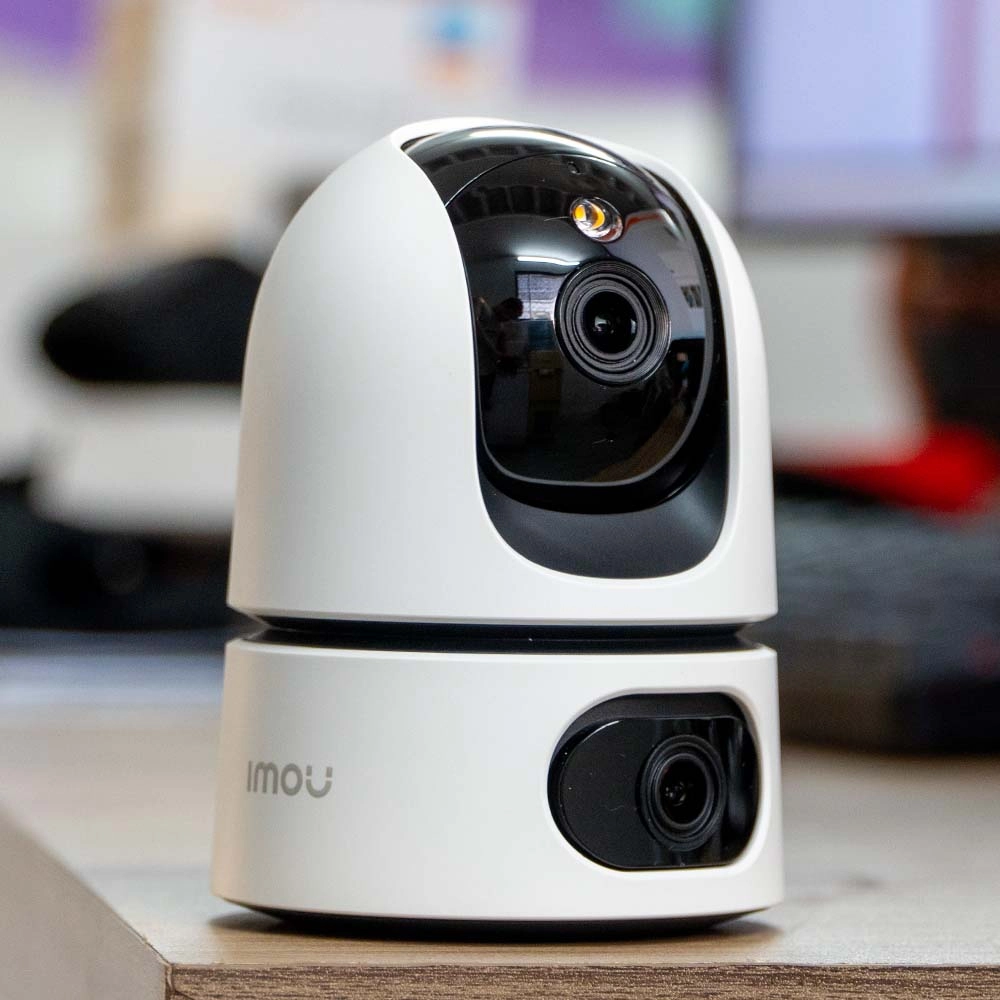
Understanding Your Camera’s Eye: A Lens Crash Course
Before you start unscrewing things, it’s crucial to know what you’re working with. Think of it like changing a tire—you need to know the bolt pattern and tire size.
Fixed vs. Varifocal Lenses
Most consumer-grade home cameras use a fixed lens, also known as a monofocal lens. This means it has a set focal length and field of view that cannot be changed. For example, a 2.8mm lens gives you a very wide, fish-eye-like view, while a 12mm lens will be much more “zoomed in.”
A varifocal lens allows you to manually adjust the focal length and focus, giving you flexibility. These are more common on professional-grade “bullet” or “dome” style cameras.
Common Lens Mounts: M12 and CS-Mount
This is the most critical part of buying a replacement. The “mount” is the threaded base of the lens that screws into the camera’s sensor board.
- M12 Lens: This is the most common type in smaller home security cameras. The name comes from its 12mm diameter thread. They are small, compact, and often called “board lenses.”
- CS-Mount Lens: These are larger and typically found on bigger, box-style or professional CCTV cameras. They offer more precision and are generally higher quality but are less common in the consumer market.
Expert Tip: “99% of the time, if you’re working on a standard dome or bullet camera for home use, you’re looking for an M12 replacement lens. Always double-check your camera’s spec sheet or measure the old lens if you’re unsure,” advises Dr. Eleanor Vance, an optics technology consultant.
The Ultimate Guide on How to Replace Home Camera Lens
Alright, you’ve decided to go for it. Take a deep breath. This is entirely doable with a bit of patience. Let’s get to work.
Step 1: Gather Your Arsenal (The Tools)
You don’t need a full workshop, just a few key items.
- A set of small Phillips head and flathead screwdrivers (an electronics repair kit is perfect).
- Your new, compatible replacement lens.
- A microfiber cleaning cloth.
- A can of compressed air (optional, but highly recommended).
- A pair of tweezers or small pliers.
- A well-lit, clean workspace.
Step 2: Safety First! Power Down
This is non-negotiable. Unplug your camera from its power source. If it’s a Power over Ethernet (PoE) camera, unplug the Ethernet cable. If it’s battery-powered, remove the battery.
Step 3: Open the Camera Housing
This step varies wildly between models.
- For dome cameras, there are usually two or three small screws on the side or base. Loosen these to remove the clear outer dome cover.
- For bullet cameras, you may need to unscrew the front ring or sun shield. Sometimes there are screws on the underside of the body that allow the main housing to slide off.
- Be gentle! There are often delicate wires connecting different parts. Don’t yank anything apart.
Step 4: Access and Remove the Old Lens
Once inside, you’ll see the camera’s mainboard with the lens screwed into the center.
- There might be a tiny set screw on the side of the lens holder. You must loosen this first.
- Grip the old lens firmly and begin unscrewing it counter-clockwise. It might be stiff from the factory or have a dab of glue on the threads. A gentle but firm twist should break it free.
- Keep turning until the lens comes out completely.
Step 5: Install the New Lens
Before you screw in the new one, this is a great time to use that compressed air. Give a quick, gentle puff to blow any dust off the camera’s image sensor (the small, shiny square the lens was pointing at).
- Carefully take your new lens and start threading it in clockwise.
- Do not tighten it all the way down yet. We need to focus it first.
Step 6: The Crucial Focusing Step
This is where people often get frustrated. A lens that isn’t focused properly will give you a blurry image, defeating the whole purpose of the repair.
- Temporarily reconnect the camera to its power source. You’ll need to see a live feed on your phone or a monitor.
- Point the camera at an object about 10-20 feet away.
- Very slowly, turn the lens in or out. You will see the image go from blurry to sharp, and then back to blurry. Your goal is to find that sweet spot where the image is perfectly crisp.
- Once you’ve found the perfect focus, carefully tighten the small set screw on the side of the lens holder to lock it in place. Be careful not to move the lens while doing this.
Step 7: Reassemble, Test, and Admire
Now, just work backward.
- Disconnect the power again.
- Carefully put the camera housing back together, ensuring no wires are pinched.
- Re-install all the screws. Give the outer glass a final wipe-down with your microfiber cloth.
- Mount the camera back in its original position, power it up, and enjoy your brand new, crystal-clear view! You’ve successfully learned how to replace home camera lens.
Frequently Asked Questions (FAQ)
Q: Will replacing the lens void my camera’s warranty?
A: Absolutely, yes. Opening the camera housing is almost always a violation of the manufacturer’s warranty terms. Only attempt this on cameras that are out of warranty or that you are willing to risk.
Q: My camera image is foggy. Is it always the lens?
A: Not always. The most common cause is moisture getting trapped between the lens and the outer glass dome or cover. Before replacing the lens, try disassembling the housing, thoroughly cleaning and drying all glass surfaces, and reassembling. Sometimes this simple fix is all you need.
Q: Can I upgrade my lens to get better night vision?
A: Yes and no. You can buy a lens with a lower F-stop number (e.g., F1.4 instead of F2.0), which allows more light to hit the sensor and can improve low-light performance. However, true night vision relies on the camera’s Infrared (IR) cut filter and IR emitters, which are separate from the lens itself.
Q: Where can I buy a compatible replacement lens?
A: Online retailers like Amazon, B&H Photo Video, and specialized security equipment websites are your best bet. Search for “M12 board lens” or “CS-mount lens” along with the focal length you want (e.g., “M12 3.6mm lens”).
Q: How much does a replacement lens for a home camera typically cost?
A: For common M12 lenses, you can expect to pay anywhere from $10 to $30. Higher quality varifocal or specialized low-light lenses can be more expensive, but rarely exceed $60 for consumer-grade applications.
Your Security is Back in Your Hands
Taking on a DIY project like this can feel daunting, but the reward is more than just a clear picture. It’s the satisfaction of having fixed something yourself and the confidence that comes from understanding the tools that keep your family safe. By learning how to replace home camera lens, you’ve not only saved money but also gained a valuable skill. At Family Security 247, we believe that an informed homeowner is a secure homeowner. Now, go enjoy that peace of mind you’ve earned.